
Sep 25, 2023 |
Admin |
Read Time :05 MIN
TurboTax 2024 release date is officially out by Intuit, the maker of...
Read More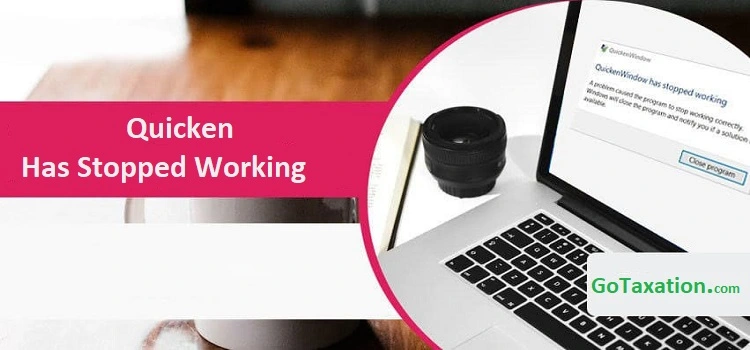
Aug 03, 2023 |
Admin |
Read Time :05 MIN
Have you ever been stuck in such a situation when Quicken Has...
Read More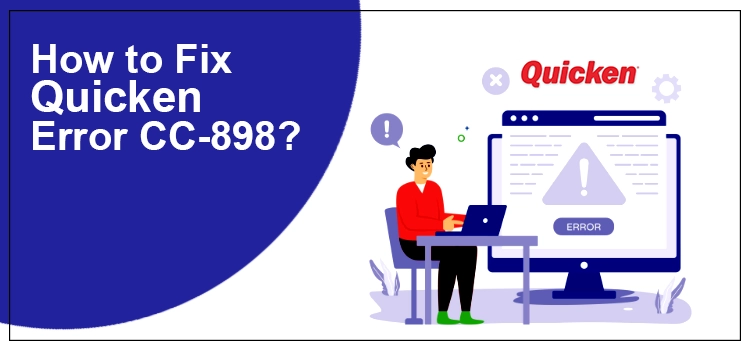
Aug 02, 2023 |
Admin |
Read Time :05 MIN
Quicken error CC-898 is an error in the program that can take...
Read More
Jul 28, 2023 |
Admin |
Read Time :05 MIN
QuickBooks is a multi-facet application with various technical advanced features and tools....
Read More
Jul 26, 2023 |
Admin |
Read Time :05 MIN
QBCFMonitorService is one of the most important QuickBooks services, enabling the accounting...
Read More
Jul 06, 2023 |
Admin |
Read Time :05 MIN
Are you looking for a way through which the employee's payroll details...
Read More
Jul 05, 2023 |
Admin |
Read Time :05 MIN
The QuickBooks desktop has revolutionized the financial world completely. The ultimate software...
Read More
Jun 07, 2023 |
Admin |
Read Time :05 MIN
Encountering with QuickBooks error is not a new thing for its users....
Read More
Jun 02, 2023 |
Admin |
Read Time :05 MIN
Are you worried about getting your smooth payroll workflow troubled due to...
Read More
May 31, 2023 |
Admin |
Read Time :05 MIN
QuickBooks is one of the most used accounting software that helps small...
Read More
May 24, 2023 |
Admin |
Read Time :05 MIN
TurboTax is the software used worldwide by businesses to file their tax...
Read More
May 20, 2023 |
Admin |
Read Time :05 MIN
Isn't it frustrating when you're trying to access your QB web database,...
Read More© 2026 GoTaxation | All Rights Reserved