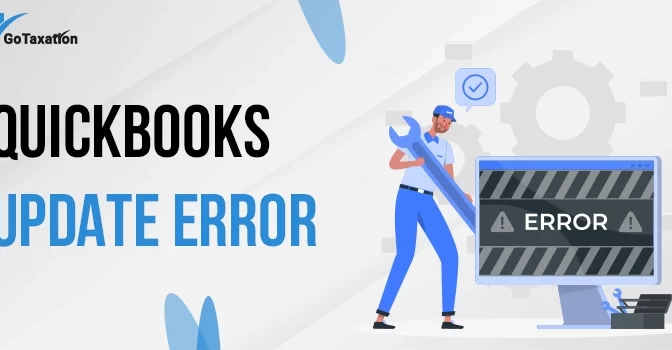
QuickBooks is a multi-facet application with various technical advanced features and tools. The power to manage financial business operations attracts small and medium size businesses across the globe. However, just like any other application, QuickBooks needs to be updated frequently for its seamless working. It is important to install the update patch as it contains the new features and fixes the bugs or issues of the previous version without compromising the security of the application. However, the problem arises when users try to update the application and get stuck in the update process. In the past few years, some of the users have reported the issue of facing QuickBooks Update error. As the name suggests, this error occurs at the time of updating the application.
If you have already spent too much time resolving this issue, but are still unable to figure out how to resolve it, then you have come to the right place. This blog provides you with an in-depth insight into QuickBooks desktop Update errors, their causes, and the ultimate process to uproot the error permanently. So make sure to read the entire blog.
Brief Look of QuickBooks Update error
Well, the name of this error already describes itself. The error hinders the process of updating, and QuickBooks won’t update. This error usually occurs when you try to update the application to its latest version. Usually, the users receive an update message whenever a new version or an update patch is released. However, when they try to update the application, they get stuck in the process and receive an error message stating, “QuickBooks will not update; update error occurs. Please try later on”. Usually, the error message is not visible. However, the application starts showing some symptoms when the error occurs.
There are various update errors; below have mentioned some of the most common error codes:
- QuickBooks error 12037
- QuickBooks error 12157
- QuickBooks error 12045
- 15xxx errors
- QB error 12038
- QuickBooks error 404
- QuickBooks error 6190
- QuickBooks error 12007
- QuickBooks error 1328
The list does not end here. There are hundreds of update errors. However, it is not possible to write down each and every error here.
Early Signs to Identify QuickBooks Won’t update error.
Each error code is associated with a specific type and has its own particular reason to occur. Hence, it is important to write down the error code correctly in order to resolve the error. However, in spite of various error codes, the update error shows some common symptoms that help in its identification.
The early signs and symptoms that occur at the time when the system starts showing QuickBooks won’t update message are:
- An error message window appears on your screen.
- You will not be able to update the application in spite of several attempts.
- The system freezes or won’t respond to your commands.
- The QuickBooks application freezes.
- The window crashes.
Why Am I Getting a QuickBooks desktop Update error?
As it is an update error, there are not many reasons behind the occurrence of this error. Below, we have penned down some of the most common yet prominent reasons for the occurrence of this error.
- The internet connection is creating problem.
- The firewall or the antivirus is creating a hindrance in the update procedure.
- You are utilizing an out-of-date QuickBooks version.
- The date and time of your system is incorrect.
- You’re not signed in as an administrator.
- The digital signature is missing or got corrupted.
- You have installed more than one version or edition on the same computer.
Experts’ Solutions to Fix QuickBooks Update Error
As QuickBooks needs to be updated at a regular intervals of time, so, it is quite common to face these errors. There are multiple troubleshooting methods to resolve this issue. Based on the cause of your error, you can implement any of the error resolution techniques.
The various troubleshooting methods to resolve the QuickBooks will not update issue are:
Solution 1: Access the QuickBooks as an Admin
There are instances when you try to install updates in QuickBooks without logging in as an admin. You can resolve the issue by running the application as an admin. You can follow the steps listed below to complete the procedure.
- If you are not using QuickBooks, close it down.
- Now, right-click on the QuickBooks icon that is available on the desktop.
- From the drop-down list, pick the run as an administrator option.
- Hopefully, it will resolve the issue if it arises to permission. If not, try to resolve the issue with the help of other error resolution methods.
Solution 2: Verify the Date and Time of Your System
The incorrect date and time of your system will create problems in the update process. To fix the issue, you need to correct the date and time of your system. Just go with the below-mentioned steps to fix this issue.
- Close any active software programmers on your computer.
- Now, right-click on the date and time shown at the extreme right bottom of your system.
- Pick the adjust date and time option from the available options.
- Now, enter the current date and time as per your region.
- To make the changes visible, tap on the OK button.
- Hopefully, it will resolve your issue. If not, try to implement the other method to fix this issue.
Read Also- QuickBooks Tool Hub Download
Solution 3: Reconfigure the Internet Connection Settings
An unstable connection will result in this issue. To resolve the issue, you need to check and modify the settings. Take help from the below-mentioned steps.
- Open the web browser on your system and visit a safe website.
- In case the website does not open and you receive a message like unable to open the website, then contact the It support team or internet service provider.
- In case the website opens, then open the QuickBooks.
- After that, tap on the help menu option and choose the internet connection setup option from the list.
- Moving ahead, select Use my computer’s internet connection settings option and press the OK button.
- After that, select the advance settings option, followed by choosing the advance tab.
- Here, select the restore advance settings tab and press the OK button.
- Lastly, you need to update QuickBooks and see whether the issue is resolved or not.
Solution 4: Try to Manually Update the QuickBooks
The QuickBooks will be automatically updated when the users have turned on the automatic update feature. But, at times, the automatic update will stop in the middle of the process resulting in the update issues. Hence, you need to turn off the automatic update option and try to install the update manually. To perform the same action, you need to take help from the below-mentioned steps.
- Close the application if it is opened in your system.
- Now, right-click on the QuickBooks desktop icon and choose run as an administrator option from the drop-down list.
- Once the QuickBooks is opened, tap on the help menu option and click on the update QuickBooks desktop option from the drop-down list.
- After that, click on the options tab and choose Mark all options.
- To make the changes visible, tap on the Save Now button.
- Now, again go to the update Now button and select the reset update option.
- Further, tap on the Get updates option to receive the latest updates.
- The updates will be automatically updated. Reopen the QuickBooks once all the updates get installed.
Solution 5: Configure the Firewall Settings
At times the firewall settings consider Intuit update downloads as a threat to the system and block them. To troubleshoot the issue, you need to alter the firewall settings of your system. The below-mentioned steps will guide you through the changing process.
- Close the window and again tap on the start button.
- Now, type Windows firewall in the search box and press the enter key.
- Open the Windows firewall settings and choose the advanced settings option.
- After that, select the port tab and enable the TCP option.
- Moving ahead, select all the local ports that you want to use and enter the port number.
- Further, you need to choose to allow the connection box and press the Next button.
- Again press the next button option and provide a name for new rules.
- Repeat the entire process to create the outbound rules.
- Hopefully, the issue is fixed, and you will be able to use the QuickBooks application again.
Make sure that you have enabled ports 80 and 443 and allow the below-mentioned files.
| QBGDSPlugin.exe | IntuitSyncManager.exe | QBServerUtilityMgr.exe |
| QBDBMgrN.exe | FileMovementExe.exe | QuickBooksMessaging.exe |
| QBDBMgr.exe | FileManagement.exe | QBW32.exe |
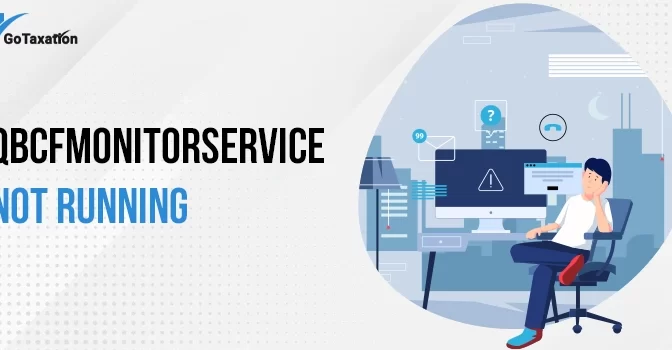
| QBCFMonitorService.exe | DBManagerExe.exe | QBLaunch.exe |
| Dbmlsync.exe | AutoBackupExe.exe |
To Put it end
Hopefully, this blog resolves all your doubts regarding the QuickBooks update errors. We assume that you will be able to resolve the issue without any help. However, if you are stuck somewhere in the process, do not hesitate to call our experts. They will definitely help you by providing the latest methods as per the industry standards. Dial our QuickBooks Enterprise phone number or send the query to our official email id to get the most feasible methods.