
Jun 19, 2026 |
Admin |
Read Time :05 MIN
Payroll is one of the most crucial components of any business, whether...
Read More
Jun 16, 2026 |
Admin |
Read Time :05 MIN
Wondering how to change TurboTax password or you forgot the credentials and...
Read More
May 20, 2026 |
Admin |
Read Time :05 MIN
QuickBooks multi-user mode is an inbuilt feature that allows users to work...
Read More
May 20, 2026 |
Admin |
Read Time :05 MIN
The problem of TurboTax transmission Not available error occurs when your tax...
Read More
May 20, 2026 |
Admin |
Read Time :05 MIN
QuickBooks Error 1317 is an installation error faced by users. It is...
Read More
May 20, 2026 |
Admin |
Read Time :05 MIN
QuickBooks company file plays a crucial role as it contains all the...
Read More
May 20, 2026 |
Admin |
Read Time :05 MIN
TurboTax 1098-t error - TurboTax form 1098-T is the American IRS tax...
Read More
May 18, 2026 |
Admin |
Read Time :05 MIN
Keeping payroll updated in QuickBooks is essential for accurate tax calculations, employee...
Read More
May 12, 2026 |
Admin |
Read Time :05 MIN
QuickBooks Error H505 appears when a workstation fails to communicate with the...
Read More
May 11, 2026 |
Admin |
Read Time :05 MIN
The journal entry in QuickBooks Online is an advanced accounting tool used...
Read More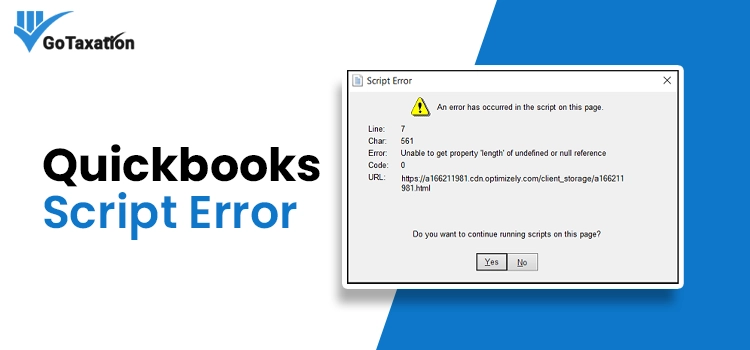
May 08, 2026 |
Admin |
Read Time :05 MIN
Have you ever faced a QuickBooks Script Error message while handling your...
Read More
May 05, 2026 |
Admin |
Read Time :05 MIN
Managing the payroll operations can be a smooth process, but facing unexpected...
Read More© 2026 GoTaxation | All Rights Reserved